There are so many wonderful traditions relating to Easter, egg hunts, the giving and receiving of chocolate Easter eggs, family celebrations and decorations. One of our favourite activities at this time of year is decorating eggs. In this article we guide you through how to prepare your eggs and share some neat decorating ideas.
Preparing Your Eggs
There are two main ways to prepare your eggs ready for them to be decorated. The hard-boiled method and removing the egg from the shell. The first method means you can only use the eggs for this Easter, whereby if you remove the egg from the shells, you can enjoy your eggs year after year. Pick whichever method that works for you.
Hard Boiled: Place your eggs in a pan of water and boil for ten minutes, taking care that the water isn’t boiling too vigorously. If the eggs bounce around too much you risk cracks and breaks. Once boiled, carefully drain and set to one side to cool completely.
Removing the Egg: To remove the egg you will need a pin, a cocktail stick, a bowl to receive the content of the eggs and some warm soapy water. Using your pin, pierce a hole in both the pointy end of the egg and the base. At the base use your cocktail stick to widen the hole. Once done, hold over the bowl and gently blow through the top (pointy) hole to expel the egg. Top tip: try using a baby aspirator instead of blowing. Once the egg feels empty gently place in the warm soapy water and clean the egg out. Leave to drain until completely dry.
Now you have your eggs, let’s get on with the fun bit, decorating them!
Coloured Eggs
To colour your eggs, there are special dyes you can buy, however here is a quick homemade egg dye recipe. Add 1 teaspoon of vinegar with ¼ teaspoon of food dye. Add this mixture to ¾ cup of water. Using tongs, gently dip your eggs into the dye then leave to dry. For a stronger colour leave the egg in the dye mixture for longer. You can get really funky by dying half the egg one colour, drying and then choosing a different colour dye for the second half.
Marbled Eggs
To create a marbled effect for your eggs, add 1 teaspoon of vegetable oil to the dye mixture and stir before dipping.
Spotty Eggs
Using a cotton bud, dip into your egg colouring and gently dab all over the egg to create spots.
Glitter Eggs
Using a diluted PVA glue and a brush, cover your egg then gently roll it in glitter, set aside to dry. Once dry you may need to touch up the resting area with a dab or two of glue and a sprinkle of glitter. Repeat the drying process before covering the egg with a light layering of glue to seal in the glitter. Leave again to dry.
Shiny Eggs
For extra shine, rub dried dyed eggs with a little vegetable oil to create a shine!
Stripey Eggs
Before dyeing your eggs, colour your egg with swirls or stripes with a wax crayon, then dye in the same manner as above. The wax will prevent the dye from adhering giving you swirls and stripes. You can also use this method to add words or initials to your eggs.
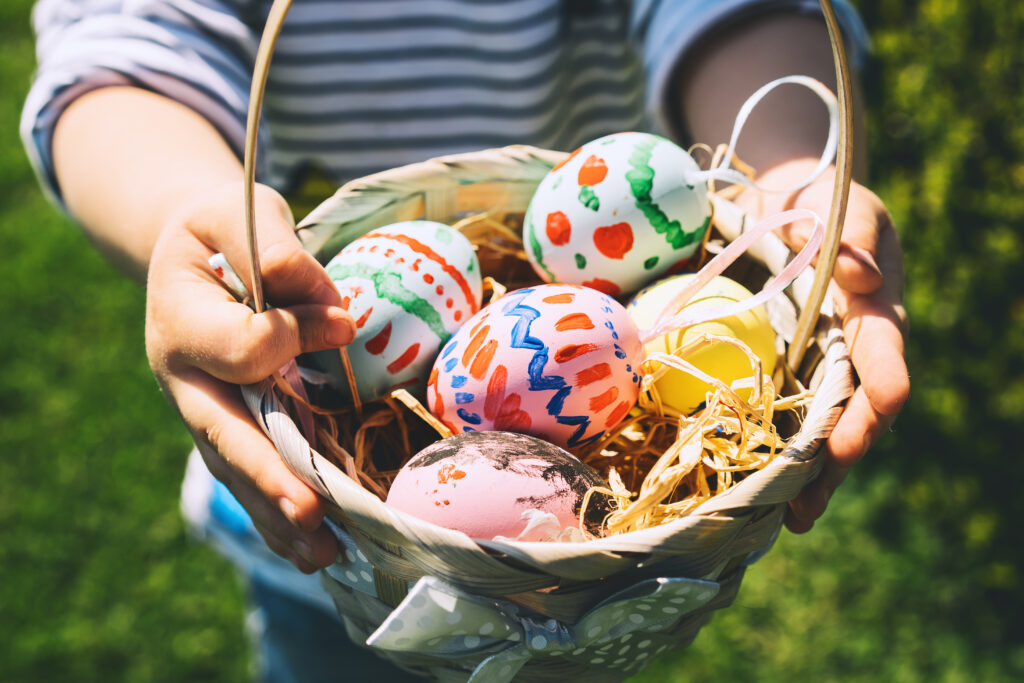
Get Creative
Decorating eggs for Easter is a lot of crafty fun for all ages. Embellish your eggs further by hand painting flowers or patterns, glue on sequins, feathers and googly eyes to make fun character eggs or have a go at hand painting a masterpiece that Fabergé will be envious of.